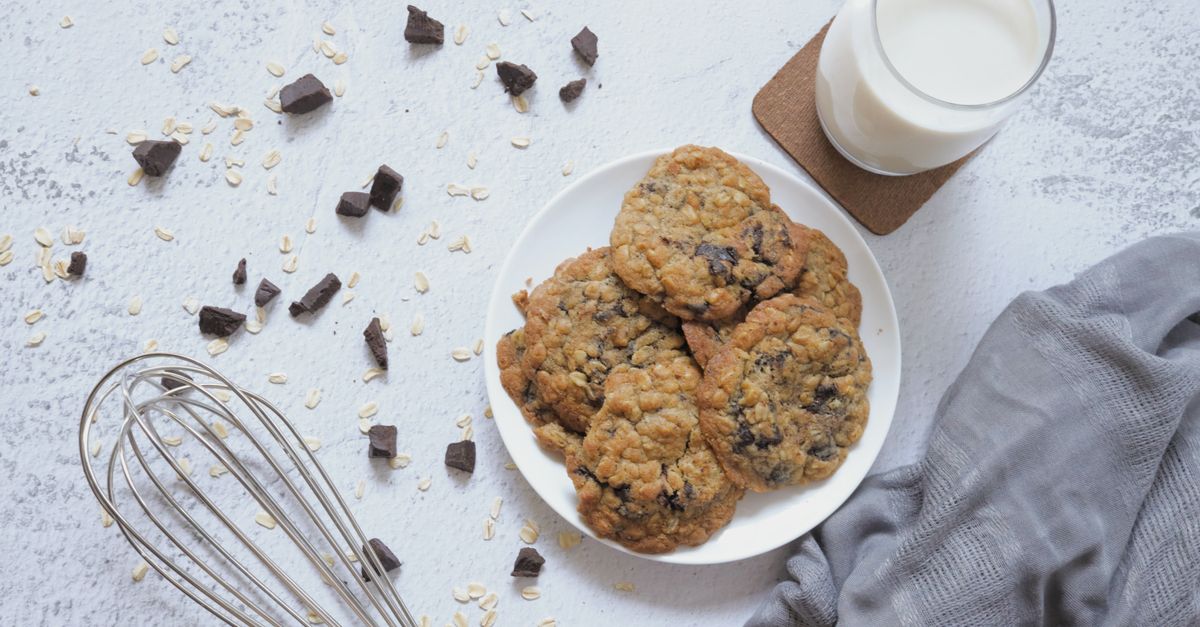
Why Your Homemade Cookies Are Flat (And The Simple Fixes That Guarantee Perfect, Puffy Results Every Time)
There’s nothing quite as disappointing as pulling a batch of cookies from the oven, anticipating those golden-brown, perfectly puffed delights, only to find a tray of flat, greasy discs. I’ve been there more times than I care to admit. For years, I blamed my oven, my recipe, or just my general baking luck. I tried countless recipes, tweaked temperatures, and even bought new baking sheets. Yet, the phantom of the flat cookie haunted my kitchen, turning hopeful baking sessions into frustrating clean-up missions.
What I eventually learned, through a lot of trial and error (and more than a few ruined batches), is that flat cookies aren’t usually the result of one big mistake, but rather a combination of small, often overlooked factors. It’s not about finding a ‘secret ingredient’ or a magic formula. It’s about understanding the subtle science behind baking and making a few strategic adjustments to your process. Once I started paying attention to these seemingly minor details, my cookies transformed from anemic pancakes into the thick, chewy, bakery-style gems I’d always dreamed of. What changed everything for me was realizing that the best cookie recipes are only as good as the technique you apply. You can have the perfect ratio of flour to sugar, but if your butter is too warm or your baking soda is stale, you’re setting yourself up for disappointment.
Key Takeaways
- Ensure your butter and eggs are truly cold, not just cool, to prevent premature spreading.
- Always chill your cookie dough for at least 30 minutes to solidify fats and develop flavor.
- Verify your leavening agents (baking soda/powder) are fresh and active for proper lift.
- Avoid over-greasing baking sheets; parchment paper or silicone mats are ideal.
- Measure flour precisely by weight or using the ‘spoon and level’ method, not scooping directly from the bag.
The Temperature Trap: Why Warm Ingredients Are Your Enemy
When I first started baking, I often ignored the part of the recipe that said, “butter, softened” or “eggs, room temperature.” I thought, what difference could a few degrees make? A massive difference, it turns out. The biggest culprit for my historically flat cookies was almost always ingredient temperature, specifically the butter and eggs. Think about it: when butter melts too quickly on a hot baking sheet, your cookie dough spreads out before the structure has a chance to set. Warm eggs also contribute to a looser batter, exacerbating the problem.
In my experience, even butter labeled ‘softened’ often meant it was too warm, especially during summer months. Now, I aim for butter that is still cool to the touch but pliable enough to indent with a finger, not squishy. For eggs, if I forget to take them out ahead of time, I do a quick warm water bath (not hot!) for 5-10 minutes. This small shift ensures that the fats emulsify properly with the sugar without immediately breaking down, giving your cookies a better foundation. I vividly remember one batch of chocolate chip cookies where I used butter that was too soft—they spread into a single, amorphous blob across the entire baking sheet. That was the moment the temperature lesson truly sank in. Getting this right means your cookies start baking with a stable form, allowing the leavening agents to do their job and create that coveted puff.
The Underrated Power of Chilled Dough
Chilling cookie dough used to feel like an optional, time-consuming step I’d often skip. Big mistake. This is, hands down, the most impactful change I made in my quest for the perfect puffy cookie. Chilling dough does several critical things:
- Solidifies the Fats: When the butter is cold and firm, it takes longer to melt in the oven. This gives the cookie’s structure more time to set before it spreads out, resulting in a thicker cookie.
- Hydrates the Flour: Resting the dough allows the flour to fully absorb the liquid, which further tightens the dough and reduces spreading.
- Concentrates Flavors: This is a bonus, but chilling also allows the flavors to meld and intensify, leading to a richer, more complex cookie.
I recommend chilling your dough for at least 30 minutes, but ideally 1-2 hours. For some recipes, I’ve chilled dough overnight or even for 24-48 hours, and the results were phenomenal—not just in thickness, but in depth of flavor. If you’re really pressed for time, you can shape the dough into balls and place them directly into the freezer for 15-20 minutes before baking. This quick chill can make a noticeable difference. The first time I tried an overnight chill, I was astounded. The cookies were not only perfectly thick, but the browned butter notes and vanilla truly sang. It was like tasting a completely different cookie from the same recipe, all because of the chill.
The Leavening Litmus Test: Is Your Baking Powder or Soda Still Active?
Leavening agents—baking soda and baking powder—are the unsung heroes of puffy cookies. They’re responsible for creating those gas bubbles that give cookies their lift and airy texture. But here’s the kicker: they don’t last forever. Using stale baking soda or powder is like trying to inflate a balloon with a hole in it. You simply won’t get the rise you need, and your cookies will fall flat.
I learned this the hard way after a string of consistently flat cookies, even when I thought I was doing everything else right. A quick check revealed my baking powder had been sitting in the pantry for over a year. Here’s how to test them:
- Baking Soda: Mix 1/4 teaspoon with 2 tablespoons of vinegar or lemon juice. If it fizzes immediately and vigorously, it’s good. If it barely bubbles, it’s time for a new box.
- Baking Powder: Mix 1/4 teaspoon with 2 tablespoons of hot water. If it fizzes, it’s active. Less fizz means less lift.
Make sure to store your leavening agents in airtight containers in a cool, dark place. I now write the date I opened the box directly on the container with a permanent marker, so I know when it’s time to replace it. A fresh leavener ensures those beautiful, airy pockets that contribute to a truly satisfying cookie.
The Greased Pan Blunder: Less Is More (Or None At All)
It seems counter-intuitive, doesn’t it? We’re taught to grease pans to prevent sticking. But when it comes to cookies, an overly greased baking sheet can actually contribute to spreading. The excess fat acts like a lubricant, allowing the cookie dough to slide and spread out rapidly as it melts, before its structure has a chance to firm up.
For perfectly puffy cookies, I almost exclusively use parchment paper or silicone baking mats. They provide a non-stick surface without adding extra fat, allowing the cookies to bake evenly and hold their shape better. If you don’t have parchment paper or a silicone mat, a very light dusting of flour on an ungreased baking sheet can work, but avoid heavy greasing. I used to spray my baking sheets liberally, thinking I was doing a good thing. My cookies often had crispy, almost burnt edges from the oil heating up too much, while the centers remained stubbornly flat. Switching to parchment paper was a game-changer – the cookies lift off effortlessly, and their bottoms are perfectly golden and even.
The Flour Factor: Measuring Precisely for Structure
Flour provides the essential structure for your cookies. Too little flour, and your dough will be too wet, leading to excessive spreading. Too much, and your cookies will be dry and crumbly. The problem, I discovered, is how most people measure flour: by scooping directly from the bag.
Scooping packs the flour tightly into the measuring cup, often adding 20-30% more flour than intended. This makes your dough stiffer, yes, but not in a good way; it can make your cookies dense and cakey, or even lead to them cracking during baking. For years, I just plunged my measuring cup into the flour bag, and my results were wildly inconsistent. Sometimes they were okay, other times they were disasters.
The solution is precise measurement. My preferred method is by weight using a digital kitchen scale. This is the most accurate way to measure any dry ingredient. If you don’t have a scale, use the ‘spoon and level’ method: spoon flour lightly into your measuring cup until it overflows, then level it off with a straight edge (like the back of a knife). Never pack it down. This simple adjustment ensures you’re adding the right amount of flour, giving your cookies the ideal balance of structure and tenderness. After I started weighing my flour, the consistency of my cookies improved dramatically – no more guessing games.
Frequently Asked Questions
Q: My cookies are still flat even after chilling the dough. What else could it be?
A: If chilling isn’t working, double-check your leavening agents (baking soda/powder) for freshness. Also, ensure your butter and eggs were truly cold when you started. An overly warm kitchen can also contribute to butter softening too quickly. Consider reducing the amount of sugar slightly, as sugar melts and spreads, contributing to flatness.
Q: Can I put baking soda and baking powder in the same cookies?
A: Absolutely! Many recipes call for both. Baking soda reacts with acidic ingredients (like brown sugar, buttermilk, or cocoa powder), while baking powder contains its own acid and reacts with liquid and heat. Together, they can provide a balanced lift and texture. Just make sure both are fresh.
Q: How much sugar should I reduce if I think it’s making my cookies flat?
A: If you suspect sugar is the culprit, try reducing it by no more than 1/4 cup per standard batch (e.g., a recipe calling for 1.5-2 cups of sugar). Too much reduction can impact flavor and texture. Focus on other factors like chilling time and ingredient temperature first.
Q: Should I use softened butter or melted butter for puffy cookies?
A: For puffy cookies, softened but cold butter is almost always preferred over melted butter. Melted butter creates a denser, chewier cookie that tends to spread more because the fat is already liquid. Softened, cold butter allows for proper aeration when creamed with sugar, which contributes to lift.
Q: Does the type of flour affect cookie puffiness?
A: Yes, it can. All-purpose flour is standard, but using bread flour (higher protein) can sometimes lead to slightly chewier, thicker cookies due to more gluten development. Conversely, cake flour (lower protein) can make cookies more delicate and prone to spreading. Stick to the flour type specified in your recipe for best results, or experiment with small batches.
Conclusion
Turning out perfectly puffy, bakery-style cookies isn’t some mythical feat reserved for professional bakers. It’s about understanding a few key principles and consistently applying them. By focusing on truly cold ingredients, diligently chilling your dough, verifying your leavening agents, ditching the over-greased pan, and measuring your flour with precision, you can say goodbye to flat cookies forever. The transformation in my own baking was so profound that I now approach every batch with confidence, knowing that those thick, chewy, irresistible cookies are just a few thoughtful steps away. So next time you’re ready to bake, remember these shifts. Your taste buds—and your friends—will thank you!
Written by Sarah Jenkins
Home budgeting and frugal living
A former community organizer, Sarah brings a knack for finding resourceful solutions to common household challenges.
You Might Also Like

Why Your DIY Furniture Makeover Chips and Peels (And How to Get a Lasting, Pro Finish)
Stop chipping and peeling! Discover the overlooked mistakes in DIY furniture makeovers and pro techniques for a durable, flawless finish that lasts.

Why Your Homemade Cookies Are Flat, Not Puffy (And The Pro Secrets That Guarantee Bakery-Perfect Results Every Time)
Ever wonder why your homemade cookies spread flat instead of staying puffy? Discover the pro secrets to achieve bakery-perfect results.
Why Your Homemade Cookies Are Flat, Not Puffy (And The Pro Secrets That Guarantee Bakery-Perfect Results Every Time)
Tired of flat cookies? Discover the overlooked mistakes in your baking and the pro secrets for perfectly puffy, chewy cookies every time.