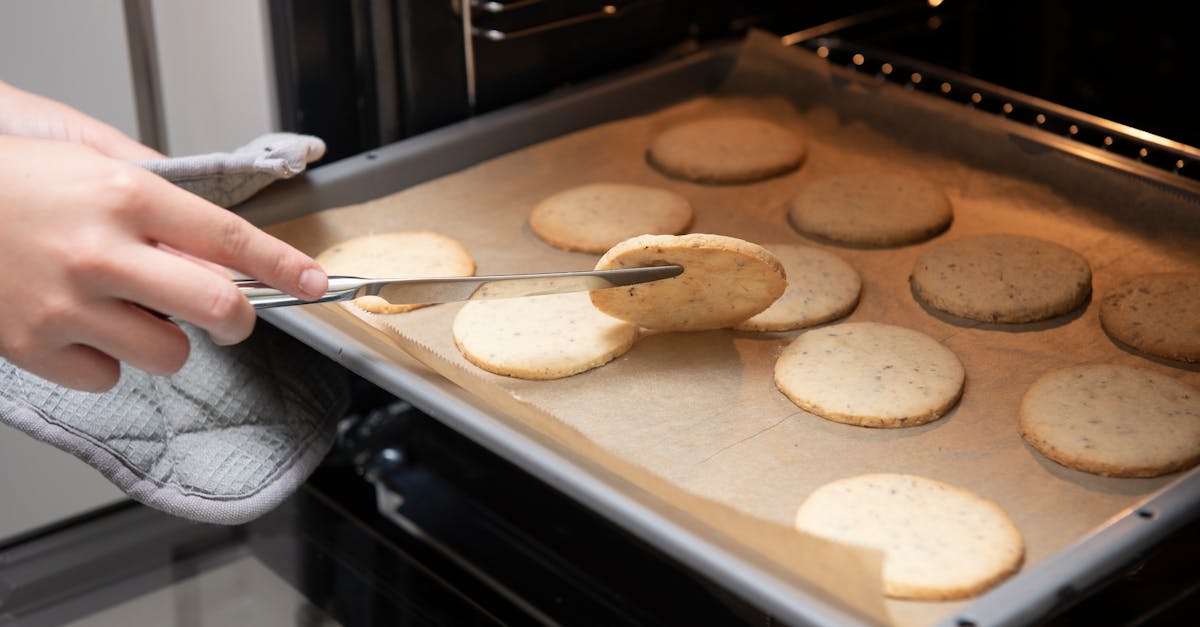
Why Your Homemade Cookies Are Sinking (And The Pro Secrets That Keep Them Puffy)
Are you tired of pulling a beautiful tray of cookies out of the oven, only to watch them slowly but surely deflate into sad, flat discs as they cool? I’ve been there more times than I care to admit. For years, my cookies were a delicious mystery – sometimes they were perfectly plump, other times they spread into oblivion and sank into dense, chewy hockey pucks. It felt like a culinary lottery. I’d follow recipes to the letter, use fresh ingredients, and still, that heartbreaking deflating act would happen. It wasn’t until I started digging deeper, past the basic ingredient lists and into the science and subtle techniques of baking, that I realized where I was going wrong. The internet is full of generic advice, but the real secrets to consistently puffy cookies lie in understanding a few often-overlooked principles.
What changed everything for me wasn’t a magic ingredient, but a series of small, deliberate adjustments in my process. I learned that what you do before, during, and immediately after baking can make or break your cookie’s structural integrity. These aren’t complicated techniques reserved for professional bakers; they’re accessible shifts that will elevate your home baking from good to consistently great. If you’re ready to banish flat, sinking cookies from your kitchen forever, keep reading. I’m going to share the exact strategies that transformed my cookie game.
Key Takeaways
- Control butter temperature: Use butter that is truly softened, not melted or cold, for optimal aeration and structure.
- Master creaming technique: Cream butter and sugar longer than you think, until light and fluffy, to incorporate sufficient air.
- Chill dough thoroughly: Chilling is non-negotiable; it solidifies fats and allows flavors to meld, preventing premature spreading.
- Preheat your baking sheet: Starting with a slightly warm (but not hot) or room-temperature baking sheet can affect initial cookie structure.
- Manage cooling meticulously: Move cookies off hot sheets promptly but cool them fully on a wire rack to set their structure.
The Over-Creaming Myth: Why You’re Not Whipping Enough Air In
When I first started baking, I thought “creaming butter and sugar” meant mixing them until they were combined. Maybe a minute, two tops. The recipe would say “cream until light and fluffy,” and I’d nod, give it a quick whirl, and move on. This, I now realize, was one of my biggest mistakes. You are probably not creaming your butter and sugar enough.
Think of creaming as incorporating tiny air bubbles into your fat and sugar mixture. These air bubbles are crucial; they create pockets in your dough that, when heated, expand with steam and leavening gases, giving your cookies their lift and preventing them from sinking later. If you don’t cream enough, your dough is dense from the start, leaving no room for expansion.
In my experience, creaming takes far longer than most people expect – often 5 to 7 minutes with an electric mixer on medium-high speed, not 1 or 2. The mixture should transform from a dense, yellowish paste to a pale, almost white, fluffy cloud. It should increase significantly in volume. Scrape down the sides of the bowl frequently to ensure everything gets properly aerated. This step feels tedious, but it’s foundational. If you rush it, you’re building your cookie house on sand.
Another critical factor here is butter temperature. Your butter absolutely needs to be at a true “room temperature” – soft enough to indent with a finger without resistance, but still cool enough that it doesn’t look greasy or melted. If your butter is too cold, it won’t cream properly, and you’ll struggle to incorporate air. If it’s too warm or partially melted, the fat structure breaks down, and it won’t hold the air bubbles, leading to an oily, dense dough.
The Silent Killer: Overworking Flour Once Liquids Are Added
Once you’ve achieved that beautifully airy butter-sugar mixture, the next common pitfall arrives: adding the dry ingredients. This is where many home bakers (including my past self) fall victim to the “overmixing” trap. The goal with flour is simply to combine it, nothing more. Excessive mixing after the flour is introduced develops gluten, the protein network that gives bread its chewiness. While great for bread, it’s the enemy of tender, puffy cookies.
When gluten overdevelops in cookie dough, it creates a strong, elastic network that resists the expansion of those precious air bubbles you worked so hard to incorporate. Instead of rising and holding shape, the gluten pulls everything tight, resulting in a denser, chewier, and ultimately, flatter cookie that is prone to sinking. It essentially strangles the lift.
My rule of thumb now is to mix the dry ingredients into the wet ingredients only until just combined. This usually means I add the dry mix, start the mixer on the lowest speed, and literally count to 10 or 15 seconds. The dough will still look a little shaggy, with a few streaks of flour visible – and that’s perfectly fine. Resist the urge to keep mixing until it’s perfectly smooth. Those last few streaks will disappear during the chilling process or when you gently fold in any additions like chocolate chips. Less is truly more here.
The Non-Negotiable Ritual: Chilling Your Dough (And Why 30 Minutes Isn’t Enough)
For years, I’d see “chill dough for 30 minutes” in recipes and think it was an optional suggestion, or just a way to make the dough easier to handle. My impatience often got the better of me. Now, I understand that chilling cookie dough is not just helpful, it’s absolutely essential for preventing sinking, ensuring even baking, and deepening flavor. And 30 minutes? That’s barely a warm-up.
Here’s what really happens during a proper chill:
- Fat Solidifies: The butter, which became pliable during mixing, firms up. This solid butter helps the cookies hold their shape longer in the hot oven. If you bake dough with warm butter, it will spread rapidly before the structure has a chance to set, leading to flat, sunken cookies.
- Moisture Distribution: The flour in the dough continues to hydrate, absorbing moisture from the liquids. This creates a more cohesive, less sticky dough that is less prone to spreading. Better hydration also means a more even texture.
- Flavor Development: This is a bonus, but during chilling, the flavors in the dough have time to meld and intensify. This leads to a more complex and delicious cookie.
My personal recommendation for most cookie doughs is a minimum of 2 hours, but preferably 24-48 hours, in the refrigerator. I often prepare my dough the day before I plan to bake. This extended chilling time isn’t just about preventing sinking; it leads to cookies with superior texture and flavor. If you’re in a real rush, 30 minutes in the freezer can sometimes mimic the effects of a longer chill, but it’s not ideal. Wrap your dough tightly in plastic wrap to prevent it from drying out or absorbing odors from the fridge.
The Temperature Tango: Your Baking Sheet Matters More Than You Think
It might seem trivial, but the temperature of your baking sheet when the dough hits it plays a significant role in how your cookies bake and whether they sink. There are two common mistakes I used to make (and see others make):
- Baking on a hot sheet: If you’re baking multiple batches, reusing a hot baking sheet straight from the oven is a recipe for disaster. The residual heat causes the butter in the dough to melt almost instantly upon contact, before the cookies have a chance to set their structure. This results in immediate, aggressive spreading and guaranteed sinking. Always allow your baking sheets to cool completely between batches, or use multiple sheets.
- Baking on a cold sheet (sometimes): While a cold sheet is generally better than a hot one, sometimes a sheet that’s too cold (say, straight out of the fridge or freezer after chilling dough on it) can also cause problems. The extreme temperature difference can sometimes cause the cookie’s exterior to set too quickly while the interior remains cold, leading to uneven baking and potential sinking as the warmer interior catches up.
The sweet spot is a room-temperature baking sheet. If you’ve been chilling your dough on the sheet, let the sheet sit on the counter for 10-15 minutes before sliding it into the oven. Alternatively, if you’re baking in batches, invest in a couple of good quality, light-colored aluminum baking sheets. These conduct heat evenly and cool down relatively quickly. Never use dark-colored sheets for cookies, as they absorb more heat and can cause bottoms to burn before the rest of the cookie is done, contributing to uneven structure.
The Post-Bake Panic: Cooling Cookies the Right Way
So you’ve perfectly creamed, gently mixed, thoroughly chilled, and expertly baked your cookies. They come out of the oven looking gloriously puffy! The job isn’t done yet. How you handle cookies immediately after baking is crucial for maintaining their structure and preventing that dreaded post-oven sink.
Many recipes say to let cookies cool on the baking sheet for a few minutes before transferring to a wire rack. This advice is critical, but the timing is key:
- Too soon off the sheet: If you try to move them while they’re still too soft and hot, their delicate structure hasn’t fully set. They will likely collapse or break apart, losing all that lovely puffiness.
- Too long on the sheet: Leaving them on the hot baking sheet for too long continues to cook the bottoms and sides, leading to over-browning and a denser texture. Also, the steam trapped underneath can make the bottoms soggy, and as the residual heat dissipates, the cooling can be uneven, contributing to sinking.
My method: Leave them on the baking sheet for precisely 5-7 minutes. For smaller, more delicate cookies, err on the side of 7 minutes. For larger, sturdier cookies, 5 minutes is usually sufficient. During this time, the internal temperature of the cookies slowly drops, and their structure firms up, making them stable enough to handle. After this crucial window, gently transfer them to a wire cooling rack. The wire rack allows air to circulate around all sides of the cookie, preventing sogginess and ensuring even, complete cooling. Do not stack cookies until they are completely, unequivocally cool – which can take 30 minutes to an hour or more. Stacking warm cookies traps steam and moisture, which will make them soft and prone to sinking.
Frequently Asked Questions
Q: Can using too much baking soda or baking powder cause cookies to sink?
A: Yes, absolutely. While leavening agents like baking soda and baking powder are essential for lift, using too much can cause an initial rapid rise in the oven that the cookie’s structure can’t sustain, leading to a collapse. Always measure leavening agents precisely, preferably by weight if your recipe provides it. If not, use the “spoon and level” method to avoid compacting the powder into your measuring spoon.
Q: Does the type of flour affect how much a cookie sinks?
A: It can. All-purpose flour is standard, but using a low-protein cake flour might result in a more delicate structure that’s more prone to sinking if other factors aren’t optimized. Conversely, using a high-protein bread flour can lead to too much gluten development, making cookies tough and potentially flat. Stick to the flour type specified in your recipe for the best results.
Q: My cookies are still sinking even after chilling. What else could be wrong?
A: If you’re chilling for long periods and they’re still sinking, re-evaluate your butter temperature and creaming technique. Are you truly incorporating enough air? Also, check your oven temperature with an independent oven thermometer. An oven that runs too hot can cause cookies to rise too quickly and then collapse. Lastly, ensure you’re not overmixing the flour.
Q: Should I let my eggs come to room temperature?
A: Yes, bringing eggs to room temperature (along with butter) is important. Room temperature eggs emulsify better with the creamed butter and sugar, creating a smoother, more uniform batter. Cold eggs can cause the mixture to seize up and prevent proper aeration, impacting the final cookie structure.
Q: Can old ingredients contribute to flat cookies?
A: Definitely. Old or expired leavening agents (baking soda, baking powder) lose their potency, meaning they won’t produce enough gas to give your cookies sufficient lift. Always check the expiration dates on these ingredients and replace them regularly (every 6-12 months for baking powder, 6 months for baking soda, if kept sealed and dry). Old flour or rancid butter can also negatively affect texture and flavor.
Conclusion
Achieving perfectly puffy, delightfully chewy, or wonderfully crisp cookies that don’t sink into oblivion isn’t about luck; it’s about precision and understanding. From the moment you start creaming your butter and sugar, through the careful incorporation of flour, the essential long chill, the mindful use of your baking sheets, and the critical post-bake cooling, every step contributes to the final outcome. These aren’t just tips; they’re the foundational pillars that transformed my own baking from guesswork to consistent success. The mistake I see most often is rushing these seemingly minor steps. Take your time, pay attention to the details, and embrace the science of baking. You’ll soon be enjoying beautifully structured cookies that hold their plumpness and bring a smile to every bite. Go forth and bake with confidence – your perfectly puffy cookies await!
Written by Sarah Jenkins
Home budgeting and frugal living
A former community organizer, Sarah brings a knack for finding resourceful solutions to common household challenges.
You Might Also Like

Why Your DIY Furniture Makeover Chips and Peels (And How to Get a Lasting, Pro Finish)
Stop chipping and peeling! Discover the overlooked mistakes in DIY furniture makeovers and pro techniques for a durable, flawless finish that lasts.

Why Your Homemade Cookies Are Flat, Not Puffy (And The Pro Secrets That Guarantee Bakery-Perfect Results Every Time)
Ever wonder why your homemade cookies spread flat instead of staying puffy? Discover the pro secrets to achieve bakery-perfect results.
Why Your Homemade Cookies Are Flat, Not Puffy (And The Pro Secrets That Guarantee Bakery-Perfect Results Every Time)
Tired of flat cookies? Discover the overlooked mistakes in your baking and the pro secrets for perfectly puffy, chewy cookies every time.