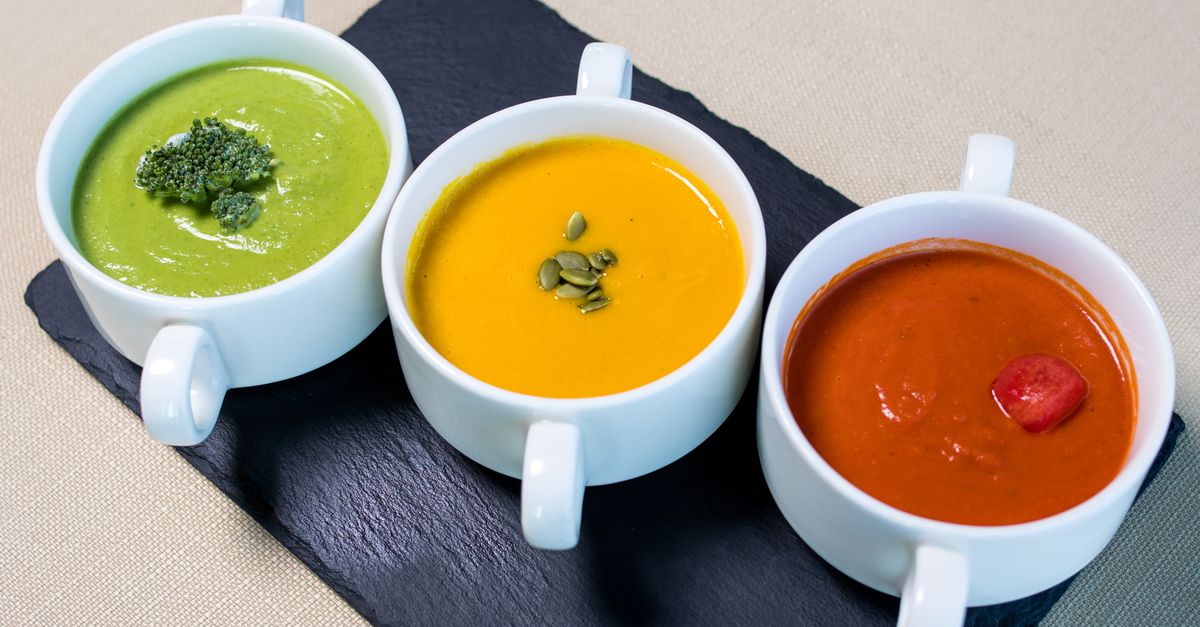
Why Your Homemade Soup is Bland (And The Flavor Secrets That Changed Everything For Me)
Are you tired of pouring your heart into a pot of homemade soup, only to find it tastes… flat? You meticulously follow the recipe, chop all the vegetables, simmer it for hours, and still, it lacks that restaurant-quality depth and richness. I’ve been there. For years, my soups were, frankly, anemic. They were edible, sure, but they never truly sang. I’d add more salt, more pepper, a dash of this, a sprinkle of that, but it was like putting lipstick on a pig – it still didn’t have the soul I craved. Most home cooks face this challenge because they focus on the obvious ingredients, missing the foundational flavor-building techniques that truly elevate a soup from a simple meal to a culinary experience. I used to think the secret was just more herbs or a longer simmer, but what changed everything for me was understanding how flavor compounds interact and how to build layers of taste from the very beginning.
Key Takeaways
- Build a robust aromatic base with proper sautéing and browning to unlock deeper flavors.
- Utilize umami-rich ingredients and acids at strategic points to amplify savory notes and balance the broth.
- Layer fresh and dried herbs and spices, adding them at different stages for complex aroma and taste.
- Don’t underestimate the power of finishing touches like fresh herbs, a swirl of fat, or a squeeze of citrus to brighten and round out the final flavor profile.
The Overlooked Power of Proper Aromatic Foundation
Most soup recipes start with ‘sauté onions, carrots, and celery.’ This instruction, while accurate, is often where many home cooks lose out on massive flavor potential. They rush it, barely softening the vegetables before adding liquids. This was my biggest mistake for years. I thought ‘sauté’ meant ‘cook quickly until soft,’ but for soups, it means ‘slowly coax out deep, caramelized flavors.’
What changed everything for me was adopting a slower, more deliberate approach to the aromatic base, often called a soffritto or mirepoix. Instead of five minutes, I now dedicate 10-15 minutes, sometimes even 20, to this initial step. Here’s why it’s critical: as onions brown, their natural sugars caramelize, creating hundreds of new flavor compounds. Carrots sweeten and deepen, and celery’s subtle bitterness mellows. This isn’t just about softening; it’s about developing complexity.
My process now looks like this: I start with a generous amount of fat (often olive oil or butter, sometimes a mix). I add the onions first, cooking them on medium-low heat until they’re translucent and then start to turn golden brown, gently scraping the bottom of the pot to prevent sticking. This takes a good 7-10 minutes. Then, I add the carrots and celery, continuing to cook until they, too, soften significantly and develop a slight sheen, often another 5-7 minutes. If I’m using garlic or ginger, I add them in the last minute to prevent burning. This unhurried browning creates a foundational layer of rich, sweet, savory flavor that simply cannot be achieved by rushing. Think of it as building the basement of your flavor house; without a solid foundation, the whole structure will be weak.
Unleashing Umami Bombs and Acidic Brightness
Another revelation for me was understanding the role of umami and acid beyond just salt. Salt is essential, but it’s a blunt instrument. Umami-rich ingredients add a savory depth that makes a soup feel more substantial and satisfying, while acid brightens and balances, preventing it from tasting muddy or heavy.
I’ve found that many home cooks, myself included, shy away from these because they don’t immediately taste like ‘soup.’ However, strategically adding them transforms the entire profile. My go-to umami boosters now include:
- Tomato Paste: A tablespoon or two, added after sautéing aromatics and browned until it darkens slightly, unlocks a rich, concentrated savory note. This browning step is crucial; raw tomato paste tastes acidic and raw, but browned, it’s magic.
- Mushrooms (dried or fresh): Dried shiitake mushrooms rehydrated in warm water, with their soaking liquid added to the broth, are a powerhouse. Fresh mushrooms, sautéed deeply until they release their liquid and then brown, also contribute significantly.
- Parmesan Rinds: Don’t throw them away! Simmering a parmesan rind in your soup adds an incredible, subtle cheesy, savory depth. Just remember to remove it before serving.
- Soy Sauce or Fish Sauce: A small dash (start with 1/2 teaspoon) can add profound savoriness without making the soup taste Asian. It’s about the underlying umami, not the specific cuisine. I learned this trick from a professional chef, and it was a game-changer for many of my vegetable-based soups.
For acid, it’s about introducing it towards the end to maintain its vibrancy. A squeeze of fresh lemon juice, a splash of vinegar (red wine, apple cider, or even balsamic), or a dollop of yogurt or sour cream (for creamy soups) can wake up all the flavors. I typically add a small amount, stir, taste, and add more if needed. It’s like a final polish that makes everything shine.
The Art of Layering Herbs and Spices
Often, recipes list herbs and spices as a single addition, but the timing of their introduction drastically affects their impact. I used to dump everything in at once, thinking a longer simmer would meld all the flavors. What I got was often a single, muted flavor note, or sometimes a bitter one.
The real secret lies in layering: using different forms of herbs and spices at different stages of cooking.
- Dried Herbs and Whole Spices (Early): These need time and heat to release their flavors. Think dried thyme, oregano, bay leaves, whole peppercorns, coriander seeds, or a pinch of red pepper flakes. Add them after browning your aromatics and before adding liquid, toasting them briefly in the fat for about 30 seconds until fragrant. This process, called blooming, intensifies their aroma and flavor. I always bloom my spices, and the difference is night and day.
- Ground Spices (Mid-Cook): These also benefit from some cooking but can burn easily. Add them after blooming whole spices and dried herbs, stirring them into the aromatic base for a minute or two before adding liquid. Cumin, paprika, turmeric – these are best integrated here.
- Fresh Herbs (Late or Garnish): Delicate fresh herbs like parsley, cilantro, dill, or basil are best added in the last 5-10 minutes of cooking, or even as a garnish right before serving. Their volatile oils dissipate quickly with prolonged heat, so adding them late preserves their bright, fresh notes. I often use a handful chopped and stirred in at the end, and then a little extra for visual appeal and a burst of fresh aroma just before eating. This provides a contrast to the deeper, cooked-in flavors.
By staggering when you add your flavorings, you create a more complex, nuanced, and vibrant soup that keeps your taste buds engaged from the first spoonful to the last.
The Critical Role of Proper Seasoning Throughout
This might seem obvious, but proper seasoning isn’t just about adding salt at the end. It’s an ongoing process. I used to wait until the very end, add a big pinch of salt, and call it a day. The result was often a soup that tasted salty on the surface but bland beneath.
What truly transformed my soups was learning to season in layers and to taste throughout the cooking process. Think of salt as an amplifier for all the other flavors you’re building. You’re not just making the soup salty; you’re making it taste more like itself.
My updated approach:
- Season the Aromatics: A small pinch of salt when you first add onions and other vegetables helps draw out their moisture and kick-starts the browning process, enhancing their flavor.
- Season the Protein (if applicable): If you’re browning meat for your soup, season it generously before cooking. This ensures the meat itself is flavorful, not just the broth around it.
- Season the Liquid Base: Once you add broth or water, add a reasonable amount of salt, keeping in mind that the liquid will reduce and concentrate. This allows the salt to penetrate all the ingredients as they simmer.
- Taste and Adjust, Repeatedly: This is the most crucial step. Taste your soup periodically. Does it need more salt? Does it need a touch of acid (lemon juice, vinegar) to brighten it? A pinch of sugar to balance bitterness? A dash of pepper for warmth? A secret weapon I often use is a small splash of high-quality red wine during the deglazing step, allowing it to reduce completely and add a deeper, more complex savory note. And for richness, a knob of butter swirled in at the end of simmering can make a world of difference, adding a velvety mouthfeel and subtle sweetness that elevate the whole bowl.
Remember that dried ingredients (like pasta or rice added directly to the pot) and starchy vegetables (like potatoes) will absorb salt, so you’ll need to adjust again later. The goal is a balanced flavor that doesn’t scream ‘salty’ but rather tastes ‘well-seasoned’ and complete.
The Unsung Heroes: Finishing Touches and Texture
Many home cooks (myself included, once upon a time) put all their effort into the simmering stage and then just ladle the soup into a bowl. But the final presentation and last-minute additions are not just for show; they are integral to the flavor experience.
A few simple finishing touches can elevate a good soup to a great one:
- Fresh Herbs: As mentioned earlier, a sprinkle of fresh, vibrant herbs like parsley, cilantro, chives, or basil just before serving adds a burst of freshness, color, and aromatic complexity that cooked herbs can’t provide. It’s that final high note that lifts the entire dish.
- A Swirl of Fat: A drizzle of good quality extra virgin olive oil, a dollop of crème fraîche or sour cream, or a pat of butter can add richness, a silky mouthfeel, and carry flavors beautifully across the palate. For heartier soups, a spoonful of pesto or a swirl of chili oil can also introduce exciting new dimensions.
- Citrus Zest or Juice: A final squeeze of lemon or lime juice, or a grating of zest, can cut through richness, brighten flavors, and provide a vital acidic counterpoint that makes the soup taste more vibrant and less heavy.
- Crunchy Garnish: Texture is just as important as taste. Croutons, toasted nuts or seeds, crispy fried onions, a sprinkle of grated cheese, or even a few tortilla strips can add a satisfying crunch and prevent the soup from being monotonously smooth. I often toast a few pumpkin seeds or sunflower seeds in a dry pan until fragrant, and the textural contrast they provide is truly delightful.
These seemingly small details are the difference between a homemade soup that’s ‘nice’ and one that you’ll crave. They engage multiple senses and provide that final layer of complexity that often defines restaurant-quality cooking.
Frequently Asked Questions
Q: My soup still tastes watery. What am I doing wrong?
A: A watery taste often means a lack of depth, not just salt. Ensure you’re properly browning your aromatics and any meat. You might also be using too much liquid relative to your solid ingredients, or your broth itself is too weak. Consider reducing the liquid amount slightly, adding more umami boosters (like tomato paste or dried mushrooms), or simmering longer to concentrate flavors. You can also thicken slightly with a roux or pureed vegetables if appropriate for your soup type.
Q: Can I fix a bland soup after it’s already cooked?
A: Absolutely! While it’s best to build flavor from the start, you can still rescue a bland soup. Try blooming some spices in a separate pan with a bit of oil, then adding that flavored oil to the soup. Incorporate additional umami sources like a splash of soy sauce, a teaspoon of miso paste dissolved in some broth, or a browned parmesan rind. Don’t forget acid – a squeeze of lemon or lime, or a dash of vinegar can work wonders. And always, finish with fresh herbs and a final taste test.
Q: How do I know if I’ve added enough salt?
A: The best way is to taste, taste, taste! Add salt incrementally, stirring well, and tasting after each addition. The goal isn’t to make it taste salty, but for all the other flavors to pop and become more vibrant. If the soup tastes dull or flat, it likely needs more salt. If you go too far, a chopped raw potato simmered in the soup for 15-20 minutes can absorb some excess, or you can dilute it with unsalted broth or water.
Q: What’s the best type of broth to use for flavorful soup?
A: Starting with a high-quality broth is foundational. Homemade broth is always superior, as you control the ingredients and can achieve richer flavors. If using store-bought, opt for low-sodium varieties so you can control the salt level yourself. Look for brands that list real ingredients (bones, vegetables, herbs) rather than just ‘natural flavors.’ Sometimes, a combination of chicken/beef broth with a splash of vegetable broth can also add complexity.
Q: My soup is too bitter. How can I fix it?
A: Bitterness can come from over-toasting spices, burnt garlic, or certain greens (like kale) being overcooked without proper balancing. To counteract it, first remove any obvious burnt bits. Then, introduce sweetness (a pinch of sugar, a swirl of honey, or some caramelized onions), fat (butter, cream, or olive oil), and acid (lemon juice, vinegar) to balance the flavor. A starchy addition like potato or rice can also help absorb some bitterness.
Conclusion
Transforming your homemade soup from merely edible to truly extraordinary isn’t about exotic ingredients or complex culinary degrees. It’s about a few fundamental shifts in technique and mindset. By taking the time to build a deep aromatic foundation, consciously layering in umami and acid, strategically adding herbs and spices, seasoning consistently, and embracing those vital finishing touches, you can elevate every bowl. I used to dread making soup because I knew it would fall short, but adopting these principles has made soup-making one of my favorite, most rewarding kitchen endeavors. Don’t settle for bland any longer. Grab your biggest pot, commit to these steps, and prepare to be amazed by the depth of flavor you can achieve. Your taste buds (and your family) will thank you.
Written by Marcus Thorne
Smart shopping and consumer insights
With a background in consumer advocacy, Marcus is passionate about helping people make informed purchasing decisions.
You Might Also Like

Why Your DIY Furniture Makeover Chips and Peels (And How to Get a Lasting, Pro Finish)
Stop chipping and peeling! Discover the overlooked mistakes in DIY furniture makeovers and pro techniques for a durable, flawless finish that lasts.

Why Your Homemade Cookies Are Flat, Not Puffy (And The Pro Secrets That Guarantee Bakery-Perfect Results Every Time)
Ever wonder why your homemade cookies spread flat instead of staying puffy? Discover the pro secrets to achieve bakery-perfect results.
Why Your Homemade Cookies Are Flat, Not Puffy (And The Pro Secrets That Guarantee Bakery-Perfect Results Every Time)
Tired of flat cookies? Discover the overlooked mistakes in your baking and the pro secrets for perfectly puffy, chewy cookies every time.